
How to identify and decline superseded updates in WSUS

Although you can use the server cleanup wizard, you may want from time to time to clean manually all superseded updates to clean your WSUS infrastructure.
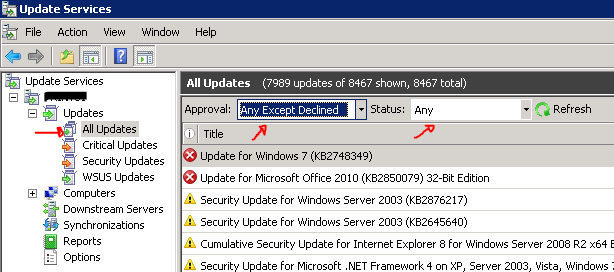
Open the Windows Update Services MMC then select the All Updates View as you can see below.
Set the display to show the Approval status of ‘Any except Declined’ with a Status of ‘Any’, then Click Refresh.
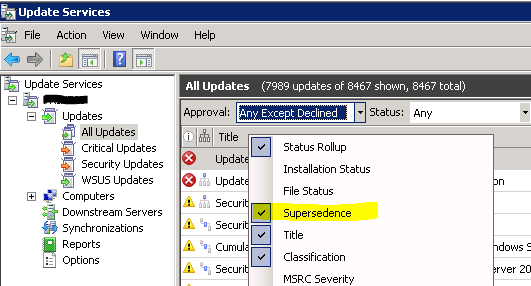
Right-click in the title bar and Enable the ‘Supersedence’ column to make it visible.
Select and Decline the Superseded Updates
The updates to be declined have one of two particular flowchart symbols for their updates pictured in the attached image. Select the correct updates and Decline them by either right-clicking the selected updates and clicking decline or by pressing the decline button in the action pane.
Now there are 4 options:
No icon: update doesn’t supersede another one nor is it superseded by an update.

The update supersedes another update, these updates you do not want to clean…!!

The update has been superseded by another update and superseded another update as well, this is an example of an update you may want to clean (decline).

The update has been superseded by another update, this is an example of an update you may want to clean (decline).
Run the Server Cleanup Wizard
Make sure you have all the options selected in the wizard and let it run. It will delete the files from the declined updates.
OPTIONAL: Automatic Approval Options
In the automatic approval options, under the advanced tab, there is an option to automatically approve update revisions for previously approved updates and subsequentially decline the now expired updates. I suggest you select them.
Note: Always verify that all superseding updates are approved before doing this operation!
WSUS Explained: Centralized Windows Update Management Made Easy


Comments ()